Surfing offers an unparalleled connection to the ocean, combining the thrill of riding waves with the serene beauty of the sea. However, even the most seasoned surfers know that their beloved boards can sometimes suffer from cracks or dings, whether from a rocky shoreline or an unexpected collision. While these blemishes might seem like the end of your board’s days, fear not! Repairing a surfboard is not only possible but also an empowering skill that every surfer can master. In this guide, we’ll walk you through the essential steps to restore your board to its former glory, ensuring you’re back to catching waves in no time. With a little patience and the right techniques, your surfboard will be ready to glide smoothly over the water once again. So, let’s dive into the art of surfboard repair and keep the stoke alive!
Assessing the Damage Understanding Different Types of Cracks and Dings
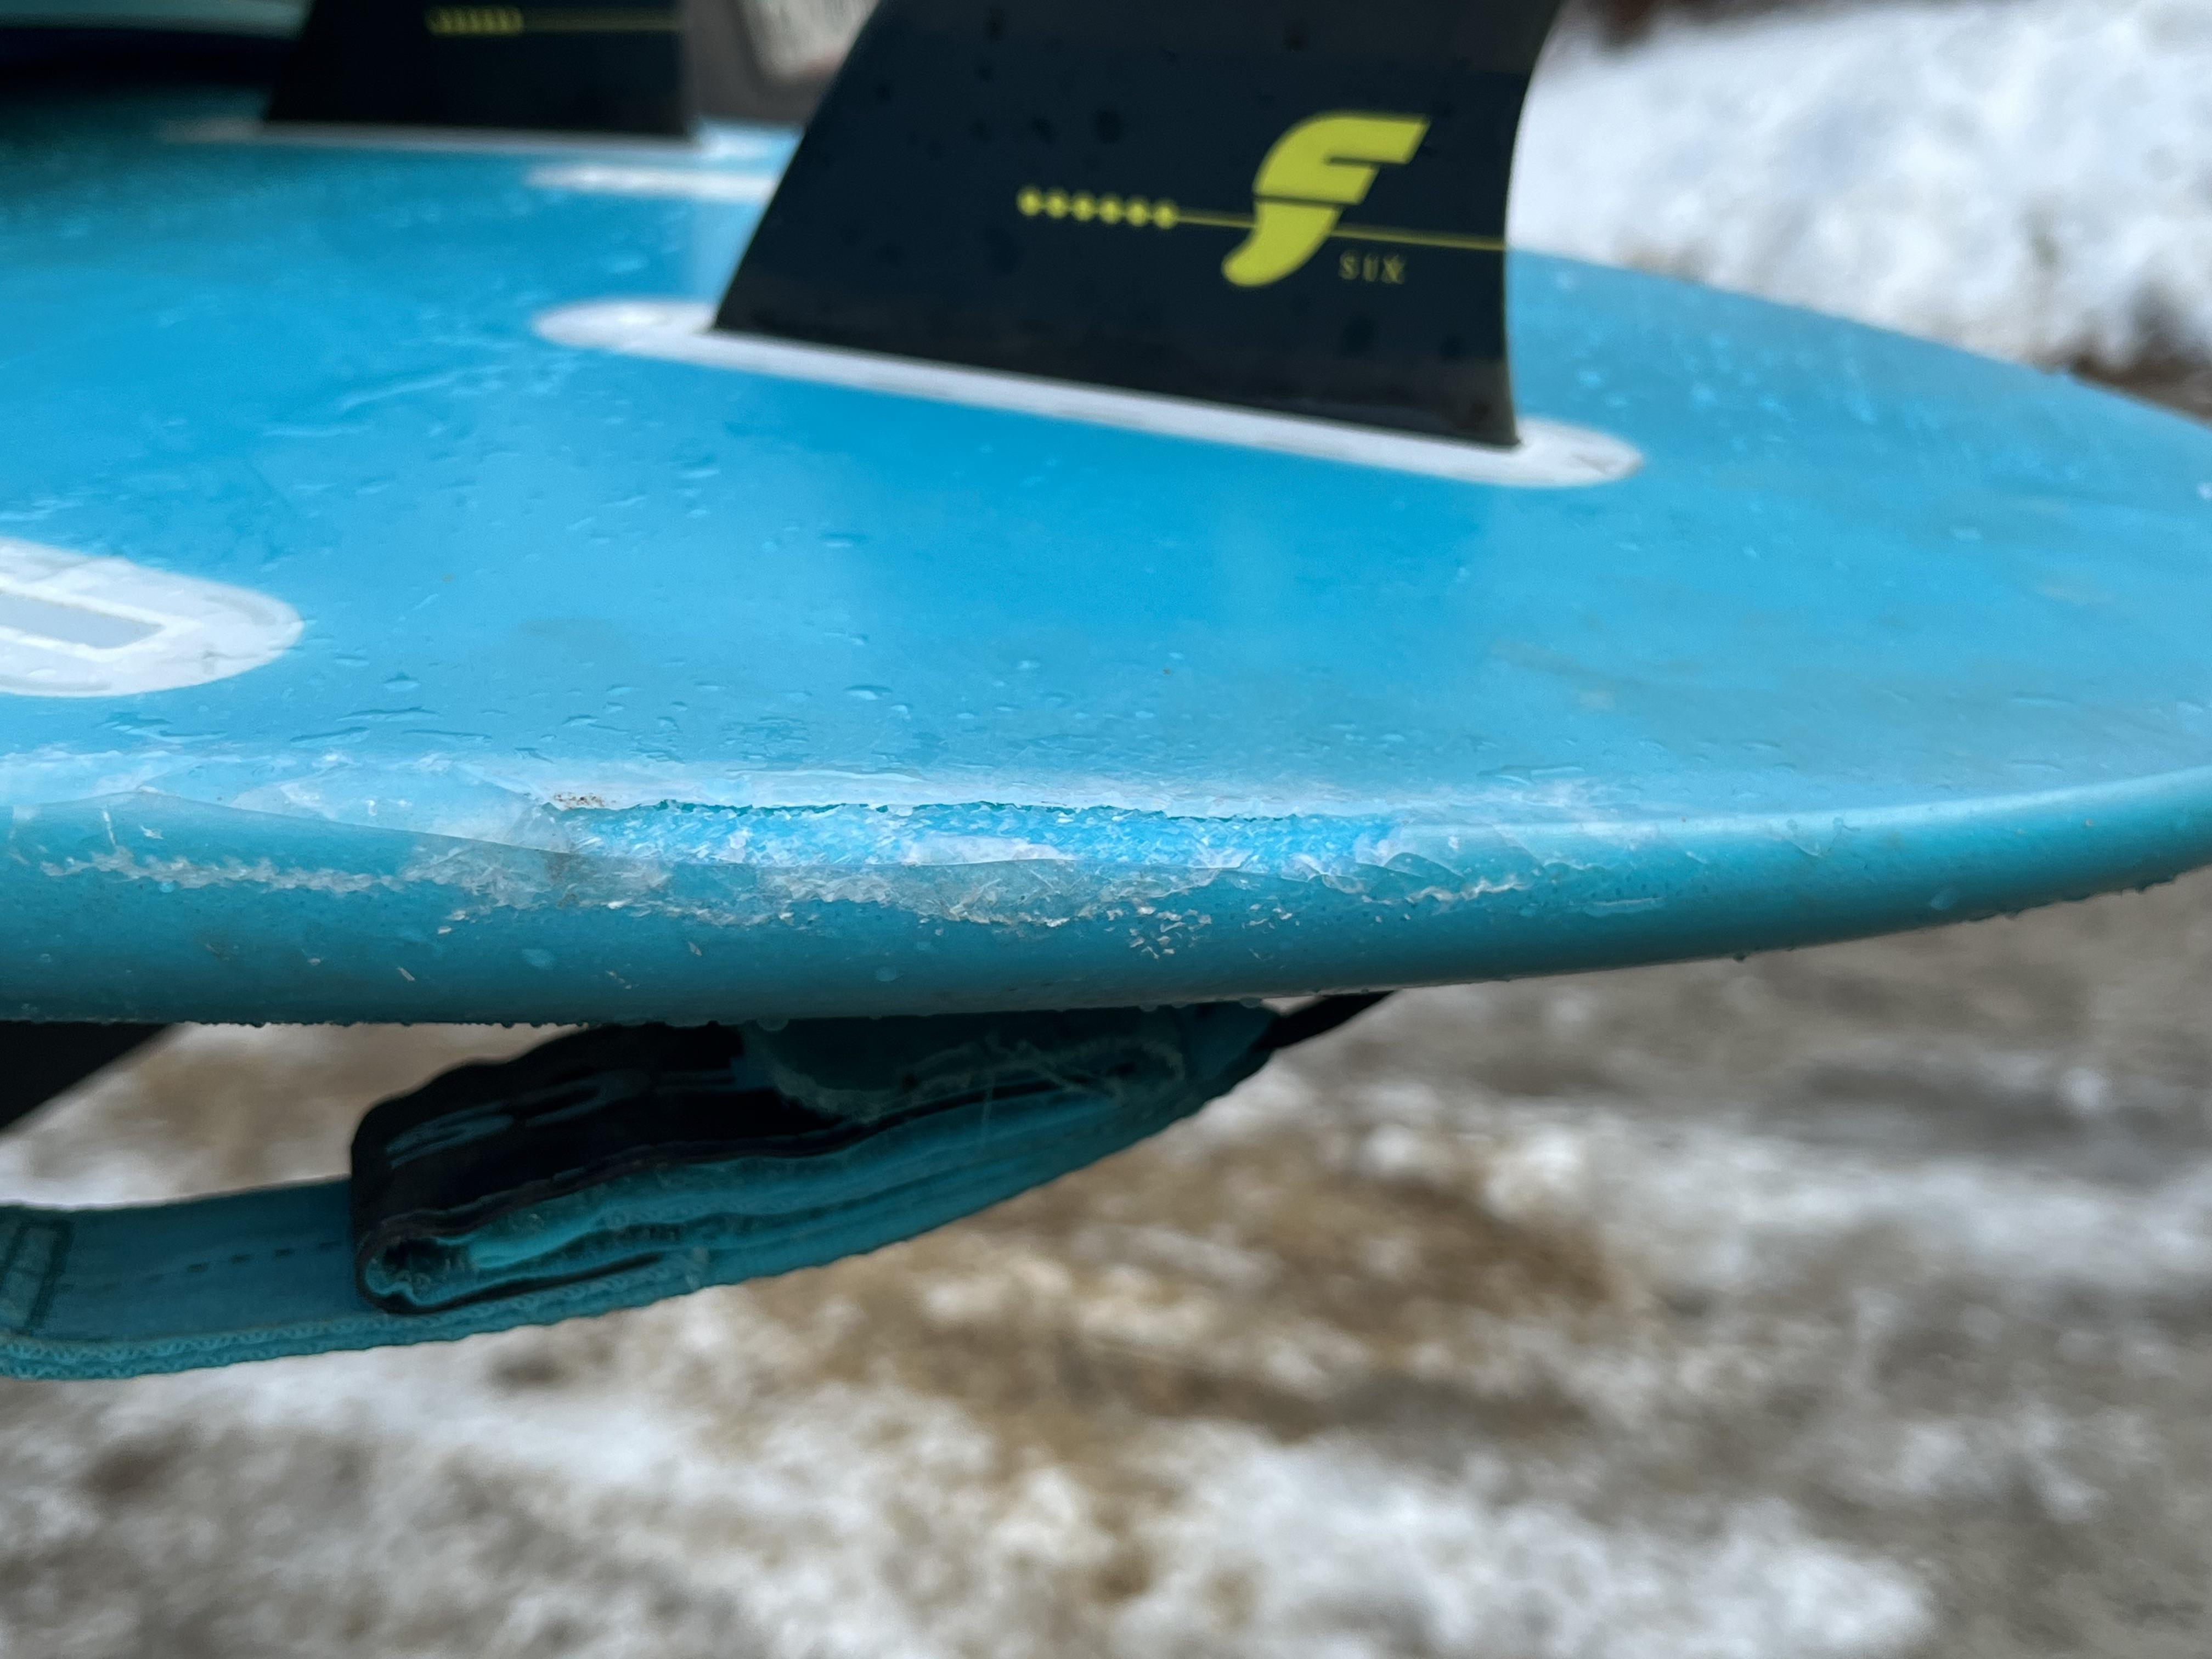
When it comes to surfboard repairs, understanding the nuances of damage types is crucial. Cracks and dings may seem similar, but they require different approaches for effective repair. A crack usually signifies a break in the fiberglass, often running in a line and exposing the foam beneath. On the other hand, a ding is typically an indentation or a small impact mark that may not breach the fiberglass completely. Recognizing the nature of the damage helps in choosing the right materials and techniques for a seamless fix.
Here’s a quick guide to identify and categorize the damage on your surfboard:
- Hairline Cracks: Thin lines often found on the surface, usually not deep but can let water in if ignored.
- Deep Cracks: Larger and more severe, these require immediate attention to prevent water from soaking the foam core.
- Pressure Dings: Result from impact but usually don’t crack the fiberglass; these can often be left alone unless they affect performance.
- Puncture Dings: Caused by sharp objects, these can breach the fiberglass, needing a more thorough repair.
Each type of damage demands a tailored approach, ensuring your board not only looks good but performs optimally on the waves. By correctly assessing the damage, you’re one step closer to hitting the surf with confidence!

Gather Your Materials Essential Tools and Supplies for Surfboard Repair
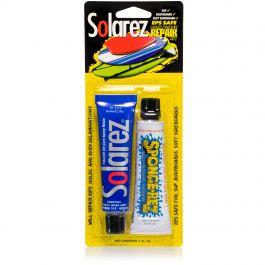
Repairing a surfboard can be a rewarding DIY project, provided you have the right materials on hand. Begin by gathering your essential tools: a sanding block, utility knife, mixing sticks, and a small bucket for mixing resin. A pair of scissors and a brush will also come in handy for precise cuts and smooth applications.
Next, ensure you have the necessary supplies: polyester or epoxy resin (depending on your board type), fiberglass cloth, sandpaper (ranging from 60 to 400 grit), and masking tape. Don’t forget protective gear like gloves and a mask to keep safe from fumes and dust. Having a few plastic cups and a stirring stick will help with resin preparation, and a hairdryer can speed up drying times if needed. With these tools and supplies ready, you’ll be well-equipped to tackle any crack or ding that comes your way!

Mastering the Repair Process Step-by-Step Guide to Fixing Cracks and Dings
Repairing your surfboard can be a rewarding experience, and with a little patience, you can restore it to its former glory. Begin by gathering all necessary materials, including sandpaper, resin, fiberglass cloth, a mixing cup, and a stirring stick. Safety first: Ensure you’re working in a well-ventilated area and wear protective gloves and eyewear.
Follow these steps to tackle cracks and dings with confidence:
- Assess the damage: Identify the extent of the crack or ding. If water has seeped in, let the board dry completely before proceeding.
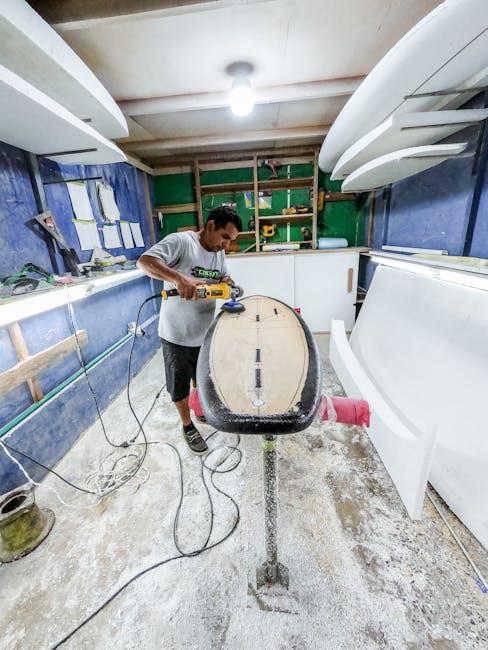
- Prepare the area: Use sandpaper to smooth the damaged area and remove any loose material. This ensures the repair will bond properly.
- Mix the resin: Follow the manufacturer’s instructions to mix the resin and hardener. A thorough mix is crucial for a strong repair.
- Apply fiberglass cloth: Cut the cloth to size and place it over the crack. Brush the mixed resin onto the cloth, ensuring it is fully saturated.
- Smooth and set: Use a stirring stick to smooth out any bubbles and ensure an even application. Allow the repair to cure as per the resin’s instructions.
Once cured, sand the area for a smooth finish, and your surfboard will be ready to hit the waves once more. With these steps, you’ll be back to riding the swells in no time!

Finishing Touches and Maintenance Tips for a Long-Lasting Repair
Once you’ve successfully patched up your surfboard, it’s time to focus on the little details that ensure your repair stands the test of time. Start by smoothing out any rough edges around the repaired area. Use fine-grit sandpaper to gently blend the patch with the rest of the board. This not only improves the board’s aesthetics but also helps in maintaining its hydrodynamic efficiency. After sanding, apply a fresh coat of resin or a UV-resistant clear coat to protect against sun damage, saltwater, and further wear. This protective layer is crucial for preserving the integrity of your repair.
- Inspect regularly: Make it a habit to check your surfboard for any signs of new cracks or weaknesses after each session.
- Rinse with fresh water: After every use, rinse your board with fresh water to remove salt and sand, which can degrade materials over time.
- Store properly: Keep your board out of direct sunlight when not in use, as prolonged exposure can cause delamination and weaken the repair.
- Use a board bag: A quality board bag provides extra protection against dings and scratches during transport.
By following these maintenance tips, you can enjoy more surf sessions with a board that looks and performs as good as new. Embrace the satisfaction of a job well done and ride those waves with confidence!


